INGREDIENTS
| 1 cup | butter (room temperature) |
| 2 cups | flour |
| 1/2 cup | icing sugar |
| 1/2 cup | corn starch |
| 1 tsp | salt |
PREPARATION:
- Place all the ingredients in a large bowl and knead with your knuckles until it starts to hold together. Turn out onto a work surface and continue kneading while folding the dough over. Continue kneading until it cracks when you fold it.
- Gently roll out the dough until it is about 1/8-inch thick. If it doesn't stay together when you roll it out then you haven't kneaded it enough.
- Cut out shapes with cookie cutters wasting as little dough as possible. Re-roll the scraps until you have used up all the dough. The more often you roll the dough the tougher it will be.
- Place onto a cookie sheet and bake at 350ºF for 8 to 10 minutes, taking care that they don't burn. You can decorate them, or serve them plain.
I am not overly happy in how this recipe turned out. It called for too much salt. I did not realize until they were already cooked that although they are edible and a perfect consistency, you are left with a salt taste after. Other then that, they were successful. They were easy to roll out and use cookie cutters with. It was my first time making them without my mother since I was a child and I feel confident in doing all the steps, I just need a better recipe to follow.
Here are some pictures of our process:


This recipe made a total of 24 good sized cookies.
Ingredients
- 1 cup powder sugar
- 1 tbsp milk
- 1 tbsp light corn syrup
- 1-3 drops lemon juice (optional)
Instructions
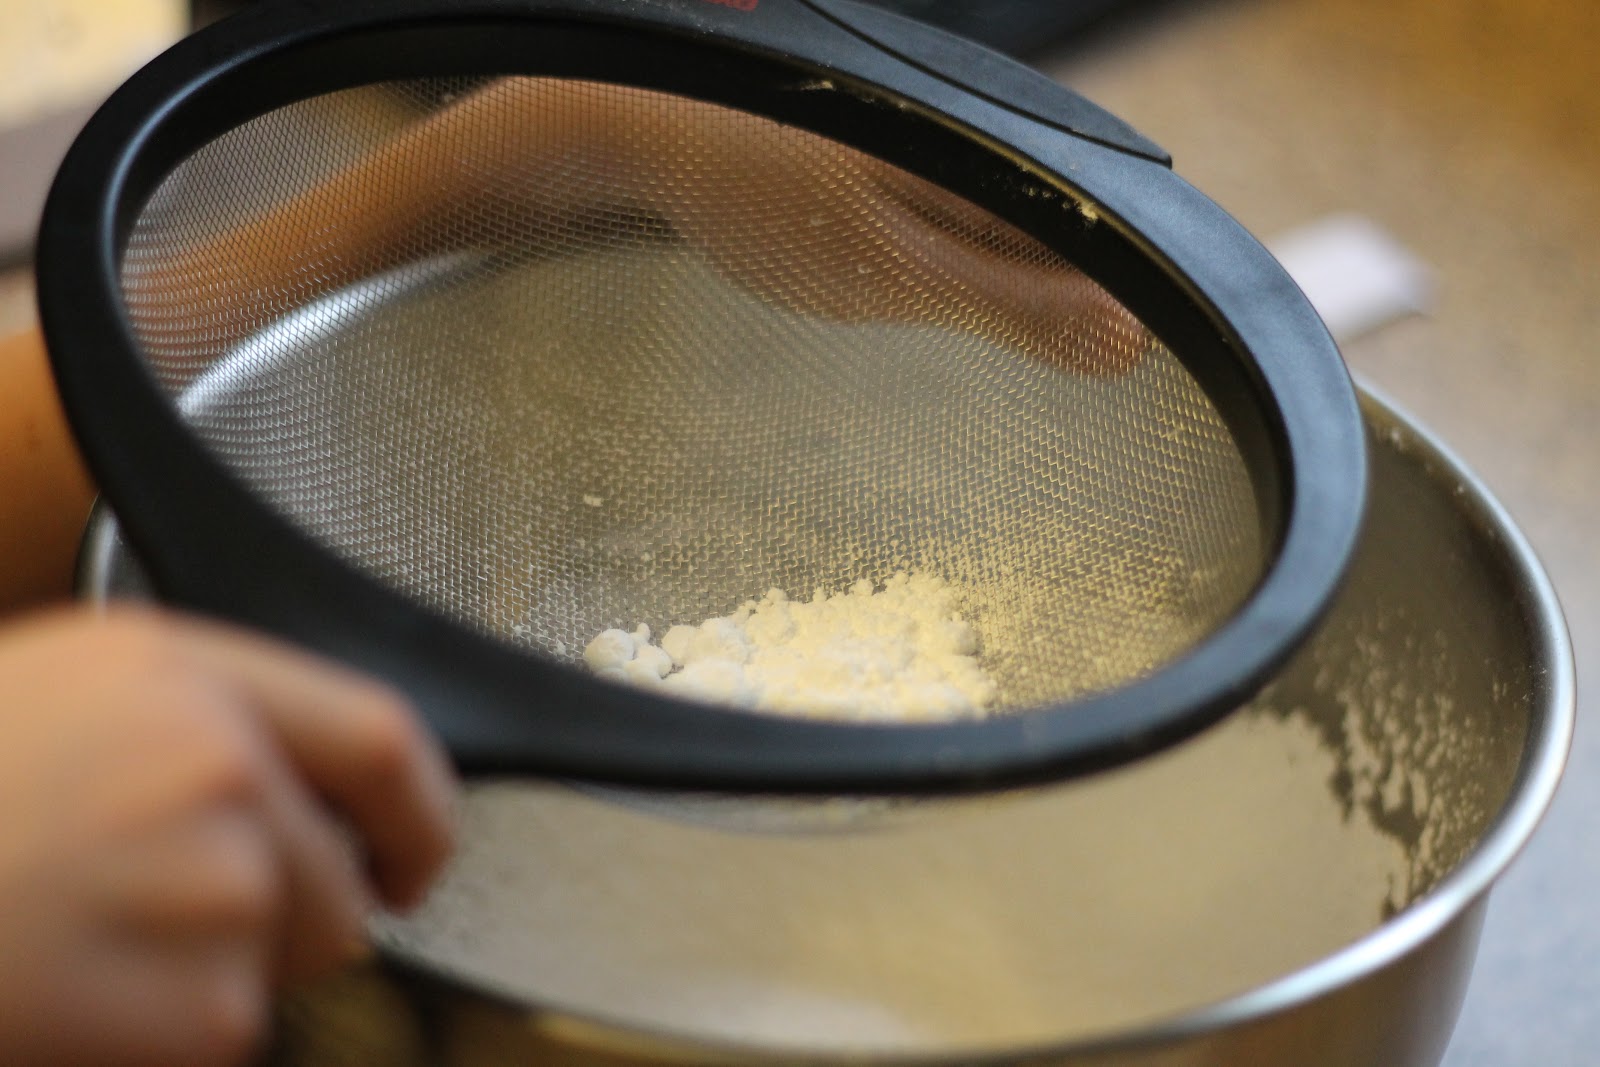
- Sift powder sugar to remove lumps.
- Add all ingredients to bowl and mix until combined.
- Add more milk as needed to achieve desired consistency.
- Make an outline around your cookies, let dry, then use a toothpick to spread icing inside outline
******This next step is important!******
If you need a thicker frosting, say for outlining your cookies, add LESS milk. Just a drop at a time.
If you have already outlined your cookies and need a to fill in or ’spill’ your cookies, you can add more milk (as much as you would need) to make your frosting very runny.
If you are using food coloring, be sure to use LESS milk. Most food colorings are liquid and can make your frosting more runny. If you are using a gel food coloring, your milk quantity can remain the same.
If you want to add different flavors, you can add drops of vanilla extract, almond extract, lemon, etc. to flavor your frosting.
If you want more SHINE, use more corn syrup and less milk.
This frosting will stay good for days in the fridge.
I followed this icing recipe and I am pleased with how it turned out. I found using the icing bag was very messy and I am not sure if it was because it was my first time using one in years or it's just supposed to be a messy job. Maybe my icing was too runny. I feel like I need to observe a professional if I am to judge as to whether I did it correctly.
I liked the recommendation of sifting my icing sugar to prevent lumps (this is a step I usually skip). I don't have a sifter so I used this.
I also liked the use of the toothpick to spread the icing. I never would have thought of that.
Instead of outlining with a thicker icing, I bought these Cake Mate Scribblers to use for the outline and to decorate. Saved me a lot of time and even more mess. I love anything that helps me save time.

This icing recipe was able to cover my 24 cookies.
So, it wasn't a perfect recipe, but the experience of making them with my son was perfect. We had a lot of fun.
Our finished product

No comments:
Post a Comment